避免Android应用冷启动问题
避免Android应用冷启动问题
在过去的几周里,Android 开发者社区有人在讨论 Android 应用的冷启动问题(即启动应用时有一段时间屏幕不显示内容,背景全为白/黑),在本篇博文中,我将解释解决这个问题是否必要,以及如何解决它以使用户得到最好的使用体验。
本篇博文涉及的代码可以在 Github
看到。
应用的冷启动问题
Colt McAnlis(Google 的一名工程师)再次开启了一个讨论帖来讨论有关 Splash/Launch 启动页面的正确用法,讨论的主题和 Cyril Mottier 之前开启的讨论相同,大体是说为什么我们在开发的时候应该避免使用 Splash 启动页。讨论的冲突点在于一部分人认为 Splash 启动页破坏了用户体验,增加了应用的体积等等……
在我看来,用户在使用应用时,应用的内容应该尽可能快呈现给用户,但当用户启动某个应用,Android 内核总会创建一个进程,使得屏幕不可避免地显示黑/白(取决于应用的 theme 或入口 Activity 的 theme)。
应用本身越复杂,或应用使用的 Application 类被重写过以需要完成更多的任务(如初始化数据分析,错误报告,等等……)时,这段时间会变得更长。

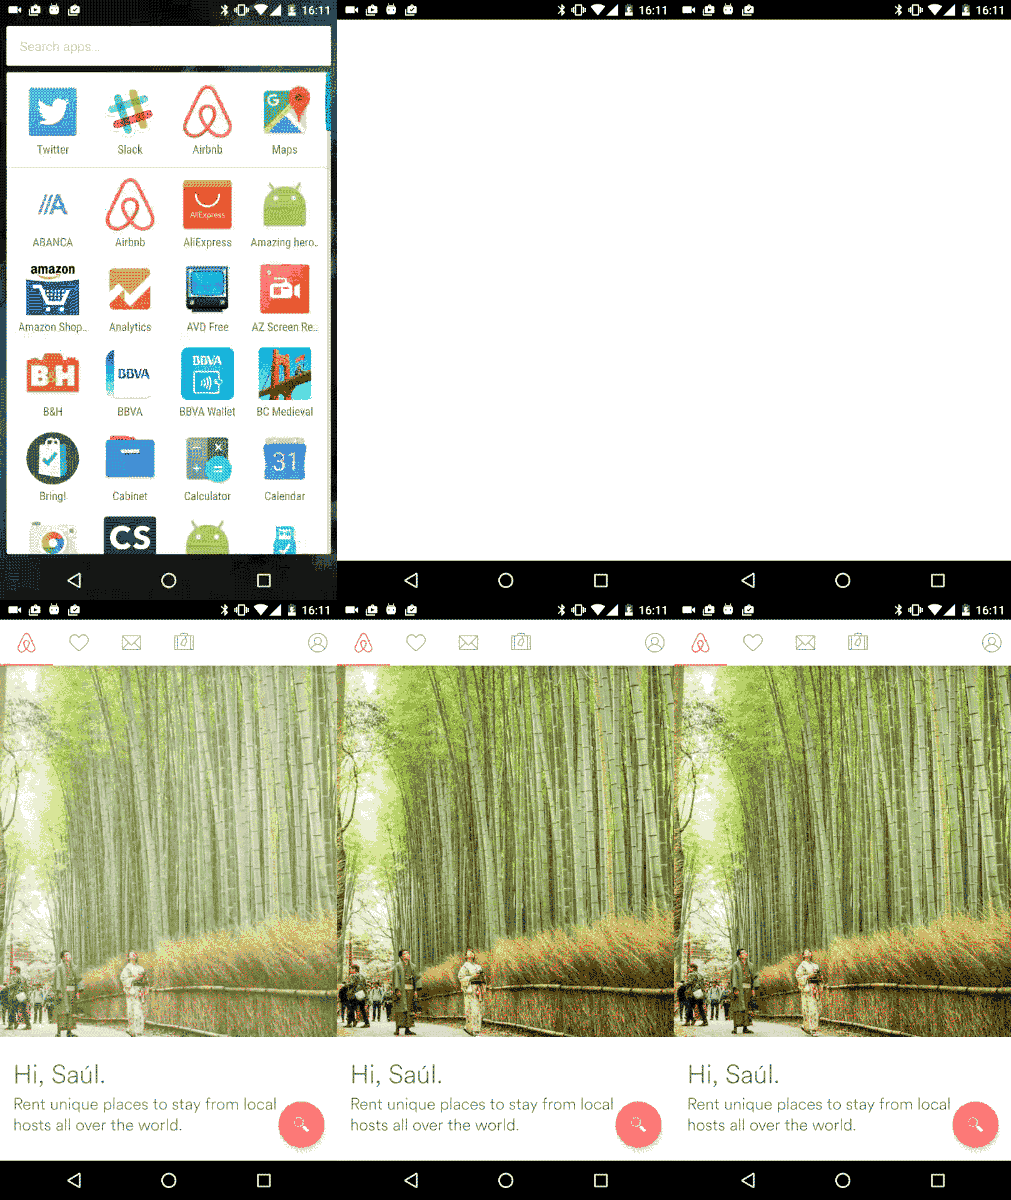
Airbnb 在初始化时就会像上图那样留白
对用户来说,这样的界面显然不是他们想要看到的。假如应用的加载时间很长,我们可以通过 placeholder 用一些内容去填充它,或者显示 Logo 以加强品牌印象。

AliExpress 在初始化时会显示其 Logo
你的新帮手,windowBackground
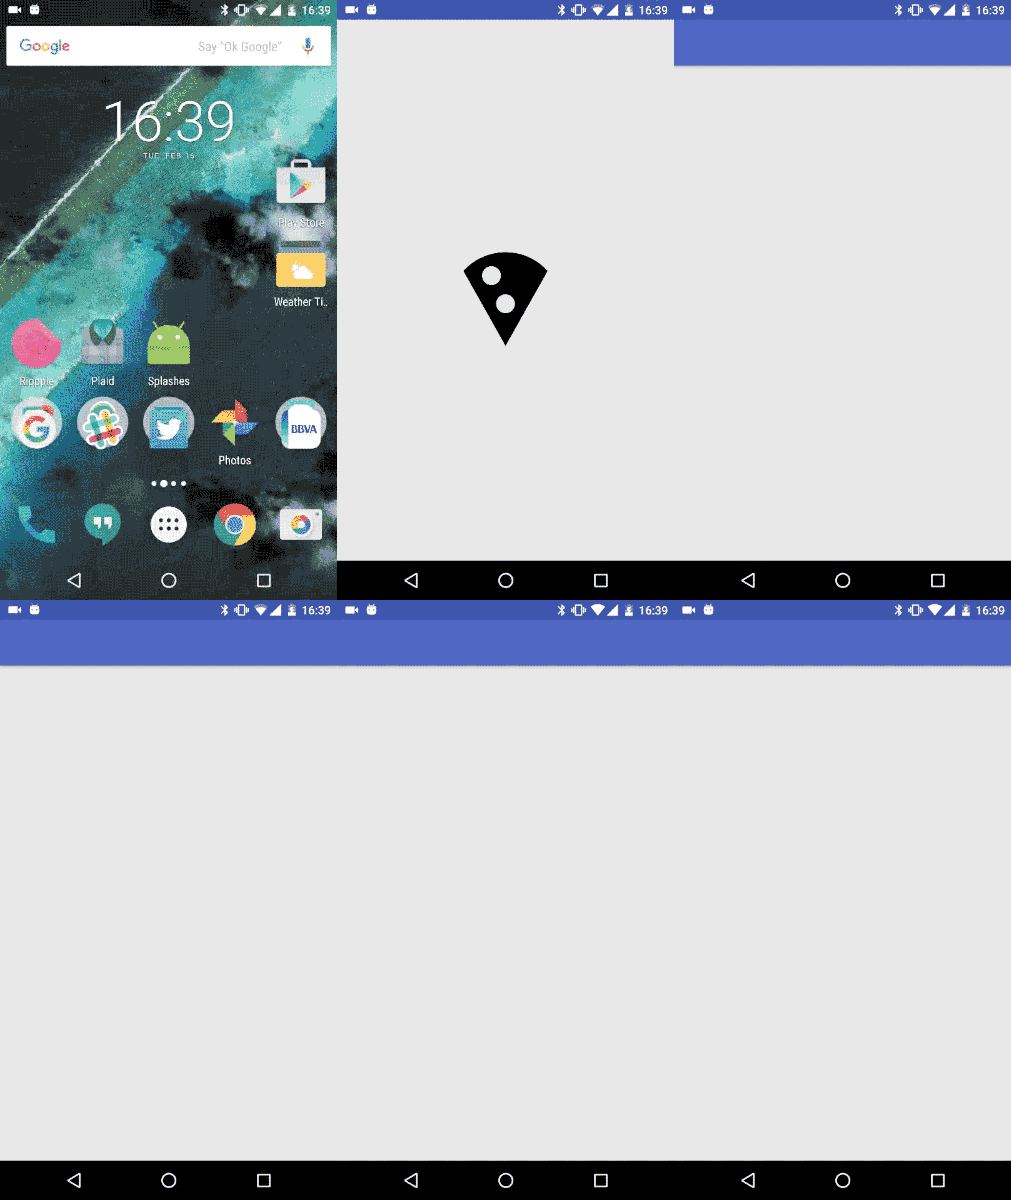
就像我们之前讨论的,在进程处于加载状态时,WindowManager 显示的 Window 由应用的 theme 决定其显示内容,准确地说,是由 android:windowBackground 的值决定的。就像 Ian Lake 的这篇博文所提到的,如果我们为该属性设置

<?xml version="1.0" encoding="utf-8"?>
<layer-list
    xmlns:android="http://schemas.android.com/apk/res/android"
    android:opacity="opaque">

    <item android:drawable="@color/grey"/>
    <item>
        <bitmap
            android:gravity="center"
            android:src="@drawable/img_pizza"/>
    </item>
</layer-list>
这里要将
<?xml version="1.0" encoding="utf-8"?>
<LinearLayout
    xmlns:android="http://schemas.android.com/apk/res/android"
    android:layout_width="match_parent"
    android:layout_height="match_parent"
    android:orientation="vertical"
    android:background="@color/grey"
    >

    <android.support.v7.widget.Toolbar
        android:layout_width="match_parent"
        android:layout_height="?attr/actionBarSize"
        android:background="?colorPrimary"
        android:elevation="4dp"
        />
</LinearLayout>
自定义启动页
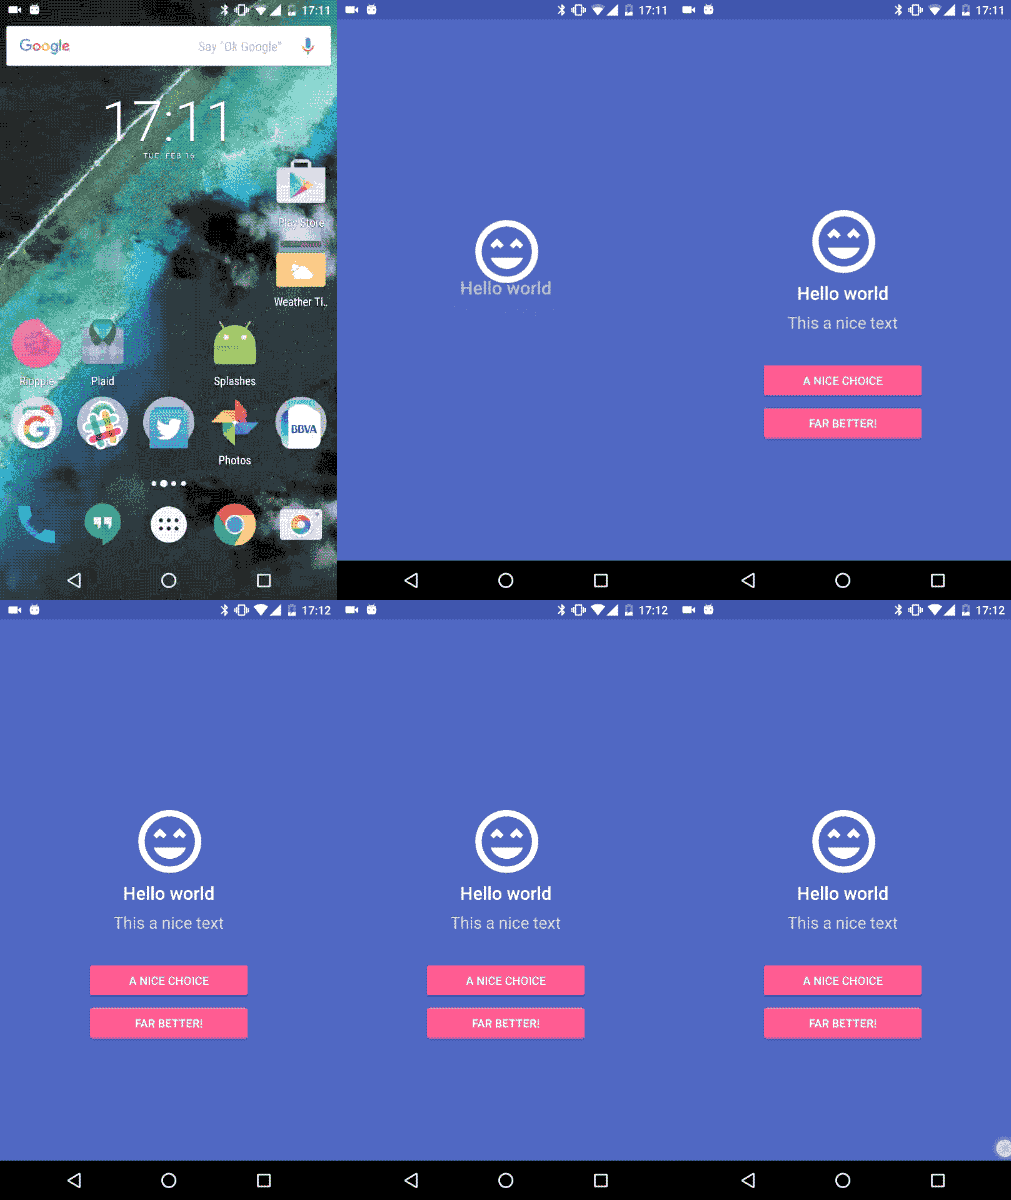
利用 windowBackground 属性可以给用户更好的体验。如果应用很复杂,那么可以显示一个独特的 Activity 来完成登录操作或进行选择操作,利用图片和动画可以实现下面这个酷炫的效果:

该动画在竖直方向上移动 ImageView,该 ImageView 包含了
ViewCompat.animate(logoImageView)
    .translationY(-250)
    .setStartDelay(STARTUP_DELAY)
    .setDuration(ANIM_ITEM_DURATION).setInterpolator(
         new DecelerateInterpolator(1.2f)).start();
从效果图可以看到,ImageView 要稍微高于屏幕的中心点,实际位置会受 SystemBar 的大小影响,在这里我为它设置了 12dp 的顶部间距,差不多是状态栏高度的一半。
<ImageView
    android:id="@+id/img_logo"
    android:layout_width="wrap_content"
    android:layout_height="wrap_content"
    android:layout_gravity="center"
    android:layout_marginTop="12dp"
    android:src="@drawable/img_face"
    tools:visibility="gone"
    />
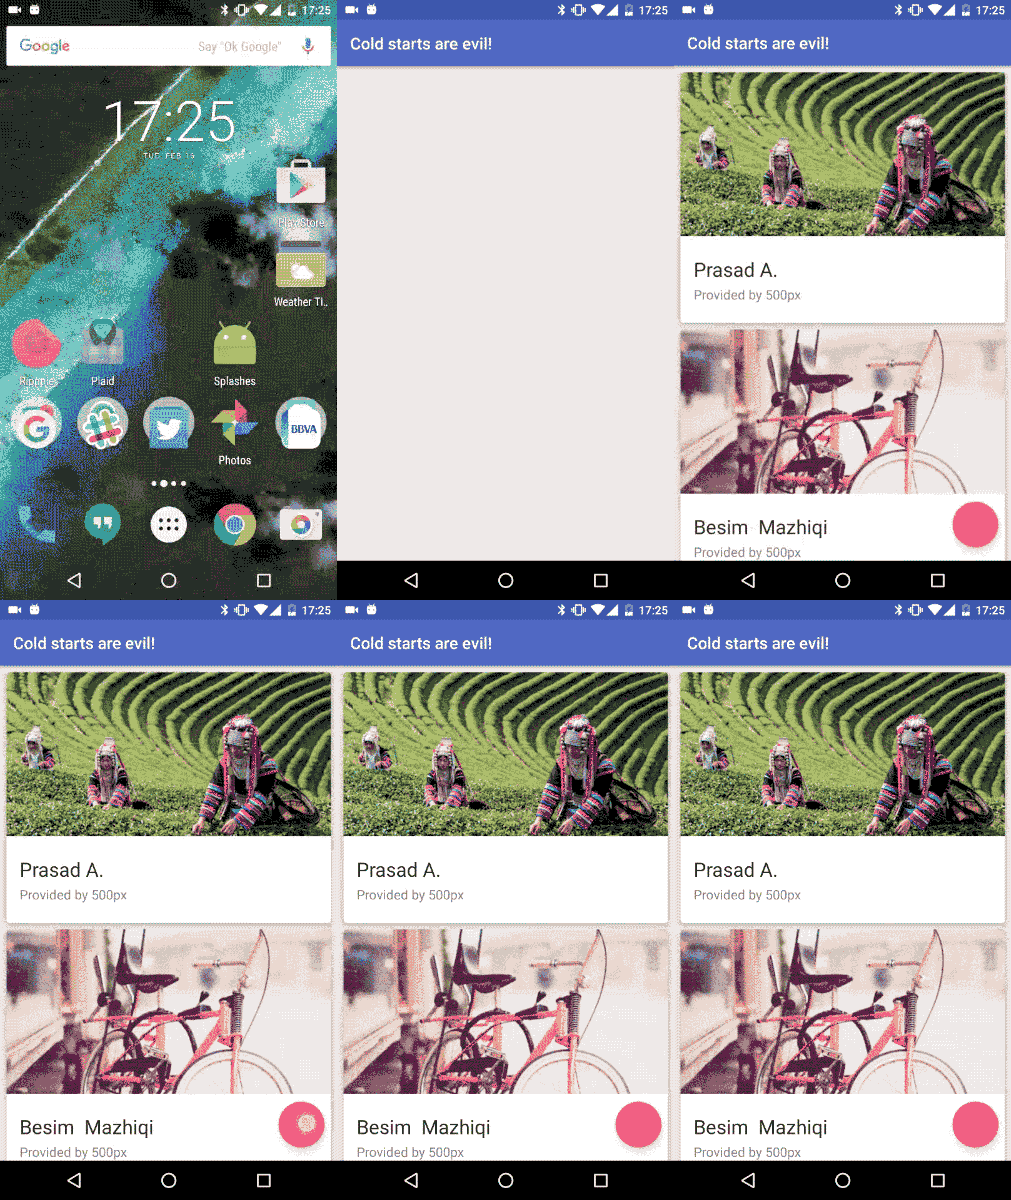
自定义 placeholder
使用

<?xml version="1.0" encoding="utf-8"?>
<layer-list
    xmlns:android="http://schemas.android.com/apk/res/android"
    android:opacity="opaque"
    >
    <item>
        <shape>
            <solid android:color="@color/grey"/>
        </shape>
    </item>

    <item
        android:height="180dp"
        android:gravity="top">
        <shape android:shape="rectangle">
            <solid android:color="?colorPrimary"/>
        </shape>
    </item>
</layer-list>
其中,第二个

private void collapseToolbar() {
    int toolBarHeight;
    TypedValue tv = new TypedValue();
    getTheme().resolveAttribute(android.R.attr.actionBarSize, tv, true);
    toolBarHeight = TypedValue.complexToDimensionPixelSize(
        tv.data, getResources().getDisplayMetrics());

    ValueAnimator valueHeightAnimator = ValueAnimator
        .ofInt(mContentViewHeight, toolBarHeight);

    valueHeightAnimator.addUpdateListener(
        new ValueAnimator.AnimatorUpdateListener() {

        @Override
        public void onAnimationUpdate(ValueAnimator animation) {
            ViewGroup.LayoutParams lp = mToolbar.getLayoutParams();
            lp.height = (Integer) animation.getAnimatedValue();
            mToolbar.setLayoutParams(lp);
        }
    });

    valueHeightAnimator.start();
    valueHeightAnimator.addListener(
        new AnimatorListenerAdapter() {

        @Override
        public void onAnimationEnd(Animator animation) {
            super.onAnimationEnd(animation);

            // Fire recycler animator
            mAdapter.addAll(ModelItem.getFakeItems());

            // Animate fab
            ViewCompat.animate(mFab).setStartDelay(600)
                .setDuration(400).scaleY(1).scaleX(1).start();

        }
    });
}